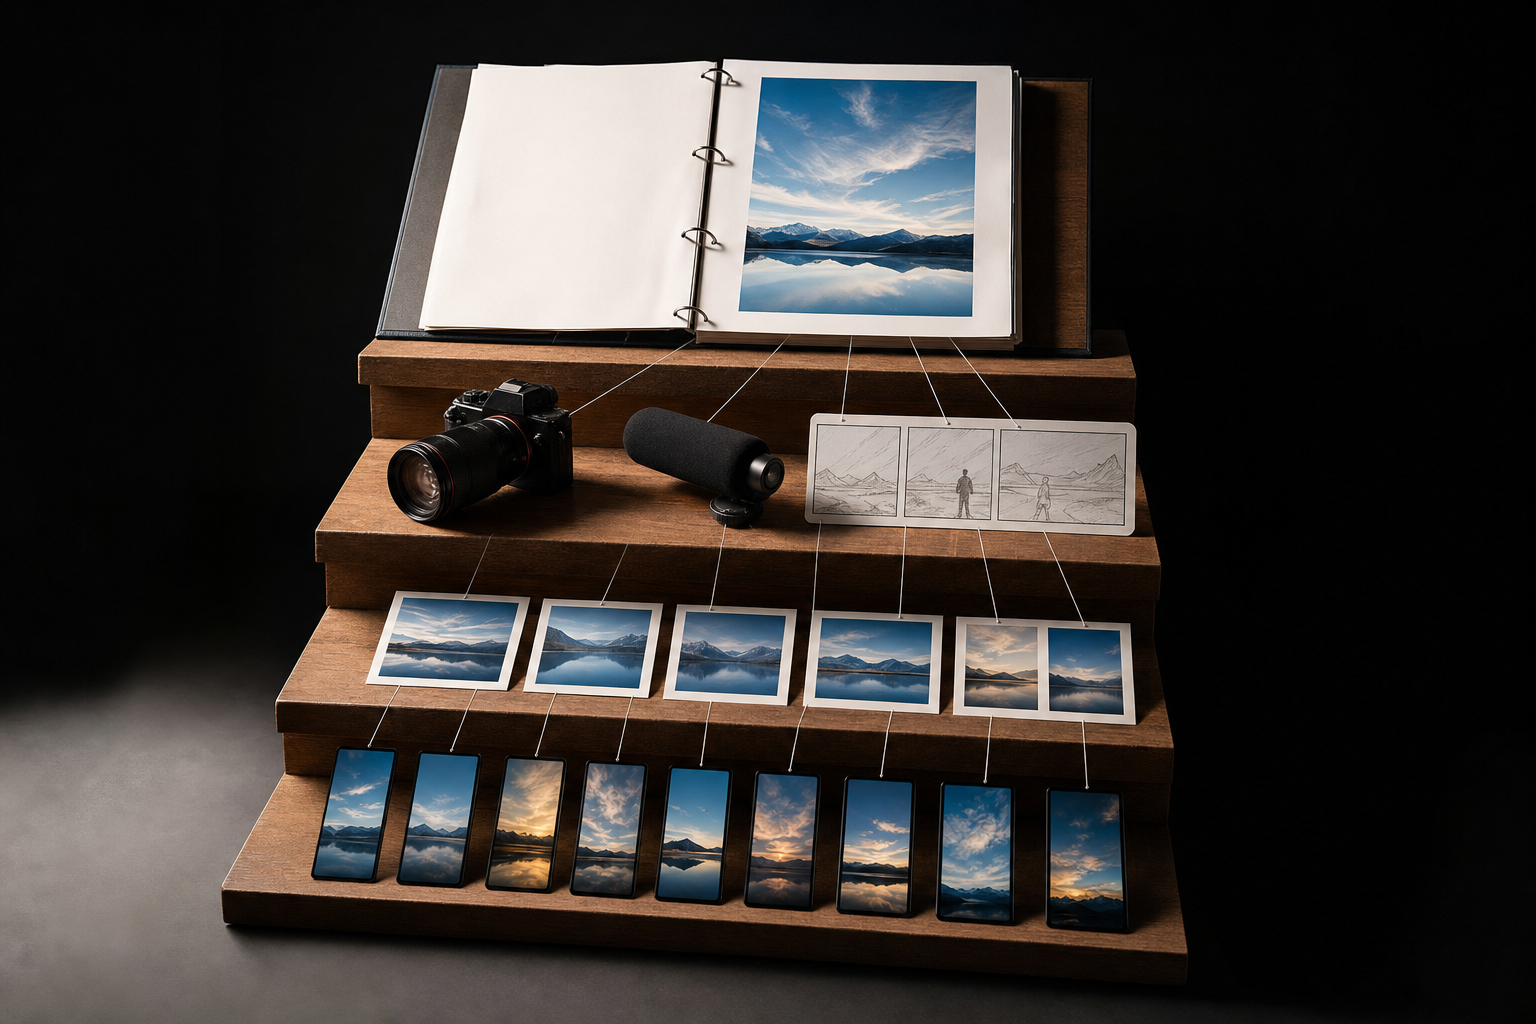
You already did the hard part: you sat down, hit record, and talked for 30 minutes about something you actually know. The problem is that a single long recording usually gets published once — as one long video — and then it dies. Meanwhile the best 40 seconds are buried at minute 18 where almost nobody reaches them.
This is a repeatable workflow for turning long-form video to shorts: mining one talking-head recording for its highest-retention moments and shipping them as standalone clips. The last time I ran this on a single session, I walked away with 8 postable clips — enough to cover a week and a half of shorts without recording again. Here's exactly how to do it.
Key takeaways
- One 20–30 minute recording can realistically yield 6–10 short clips if you record with clipping in mind.
- The best clips are self-contained moments: a strong opinion, a specific how-to step, or a myth you bust — not random 30-second slices.
- Transcribe first. Reading is 5x faster than scrubbing, and it's where you'll spot your clips.
- Every clip needs its own hook rewritten for a cold viewer — the context from the full video is gone.
- Batch the boring parts (captions, formatting, scheduling) so producing 8 clips isn't 8x the work.
The outcome you're aiming for
By the end of this workflow you'll have a folder of vertical clips, each 20–60 seconds, each with its own hook and caption, spaced out on a posting calendar. You're not trying to chop the whole video into equal pieces. You're prospecting for the moments that can stand alone and stop a scroll.
Step 1: Record with clipping in mind
The easiest clipping edit happens before you press record. If you know you'll be mining this session, structure it so the moments are already clip-shaped.
- Cover 6–8 distinct sub-topics in one sitting instead of one topic in exhausting depth.
- Before each point, take a breath and start with a clean sentence — no "so, um, like I was saying." That clean sentence often becomes your clip's opening.
- Say one complete thought per point. If a moment only makes sense because of something you said five minutes earlier, it won't survive as a standalone clip.
- Frame vertical-friendly if you can, or leave enough headroom and side space to crop to 9:16 later.
Step 2: Transcribe the whole thing
Do not scrub through the video looking for gold. Get a transcript and read it. Skimming text is dramatically faster than watching, and your clip candidates will jump off the page as full sentences.
- Export or generate a timestamped transcript so you can jump straight to any line in the video.
- Read it once, fast, and highlight anything that made you nod, disagree, or think "oh that's a good line."
- Don't judge yet — highlight generously. You'll cut later.
Step 3: Score the moments for retention potential
Now go back through your highlights and keep only the ones that can hook a stranger who has zero context. A clip lives or dies on whether the first two seconds earn the next ten.
What makes a moment clip-worthy
- A strong, specific opinion — especially a mildly contrarian one.
- A concrete how-to step someone can act on today.
- A myth you bust ("Everyone tells you X. That's wrong, and here's why.").
- A surprising number or result from your own experience — only if it's true and yours.
- A short story with a clean beginning and payoff.
If a highlighted moment needs a preamble to make sense, either it's not a clip or you'll need to add a one-line setup. Aim to keep 8–10 candidates from a good 20-minute session.
Step 4: Cut each clip tight
Trim to the moment, not the meandering. The strongest clips start on the payoff sentence and end the second the point lands.
- Set the in-point on the first strong sentence — cut the wind-up.
- Set the out-point right after the conclusion. Silence and "anyway, moving on" are scroll-away invitations.
- Keep most clips between 20 and 60 seconds. If a moment naturally runs longer and stays gripping, let it.
- Crop to vertical 9:16 and keep your face centered and large.
Step 5: Rewrite a hook for every single clip
This is the step most people skip, and it's the one that decides whether the clip gets seen. In the full video the viewer had context. In the clip they have none — so the first line has to do the work of the whole missing intro.
- Write an opening line that names the tension or promise in the first 2 seconds.
- Match the spoken hook with an on-screen text hook that says roughly the same thing.
- Avoid slow ramps like "In this video I want to talk about..." — lead with the sharpest part.
Before you commit, pressure-test the opening line with the free Scroll-Stopper Score so you're not guessing whether it actually stops a thumb.
Step 6: Caption, format, and add subtitles
Most shorts are watched on mute, at least at first, so burned-in subtitles aren't optional. Batch this step across all your clips so you're doing one type of task at a time instead of finishing each clip end-to-end.
- Add clean, readable captions/subtitles to every clip.
- Write a short caption for each post that repeats the hook and adds one line of context.
- Keep hashtags minimal and relevant — no giant walls.
- Keep your on-screen style consistent so the clips feel like a series, not eight strangers.
Step 7: Schedule the clips across the week
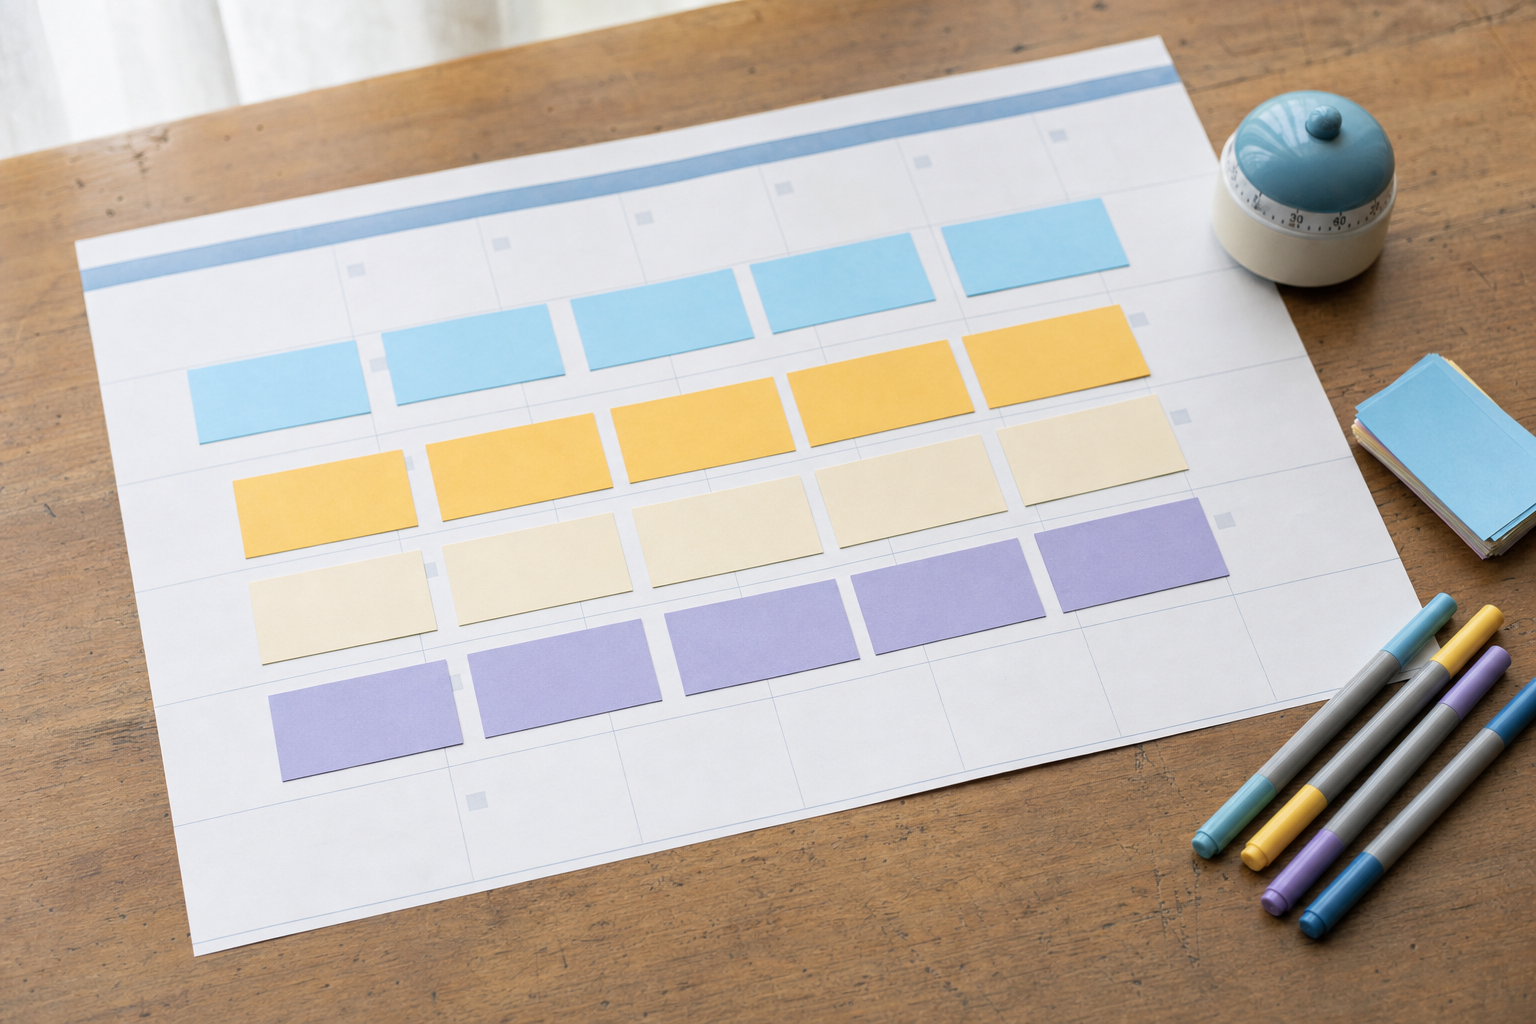
Load your clips into a calendar and spread them out so one recording becomes a week-plus of consistent posting. This is where a tool earns its keep — planning and previewing clips across platforms in one place beats juggling native uploaders. You can build and schedule that queue in VibeDay; see how the publishing and scheduling features fit together, and note that platform publishing runs through an approval-gated flow rather than silent auto-posting.
If you make a lot of shorts, the same clipping-and-scheduling rhythm is exactly what a good Buffer alternative should support without making you re-upload everywhere by hand.
Step 8: Watch retention and reuse the winners
After a week, look at which clips held attention. Retention and watch-through tell you far more than likes about what to record more of.
- Note the topic and hook style of your top two clips.
- Record your next session leaning into those winning angles.
- Re-cut any clip that had a strong body but a weak opening — sometimes a new hook is all a flop needs.
How long should each short clip be?
Most talking-head clips work best between 20 and 60 seconds. Start on the payoff sentence and cut the moment it lands. If a longer moment genuinely stays gripping the whole way through, it's fine to let it run — length only hurts you when there's dead air.
How many clips can I realistically get from one recording?
It depends on how you recorded, but a focused 20–30 minute session that covers several distinct sub-topics can reasonably produce 6–10 standalone clips. Recording with clipping in mind — one complete thought per point — is what makes the higher end possible.
Do I really need a new hook for every clip?
Yes. In the full video the viewer arrived with context; in a clip they have none, so the first line has to carry the setup on its own. Rewriting the opening for a cold viewer is the single biggest lever on whether a clip gets watched.
Can VibeDay publish these clips automatically?
VibeDay helps you create, schedule, and report on clips across platforms, but publishing runs through an approval-gated flow — you stay in control of what actually goes live rather than everything posting silently on its own.
Turn one recording into a week of shorts. Plan, caption, and schedule your clips across every platform in one place.
Start with VibeDay →Put your content engine on autopilot
VibeDay turns one idea into scroll-stopping posts — image, video, and carousel — captioned for every platform.
Start your free 7-day trial →