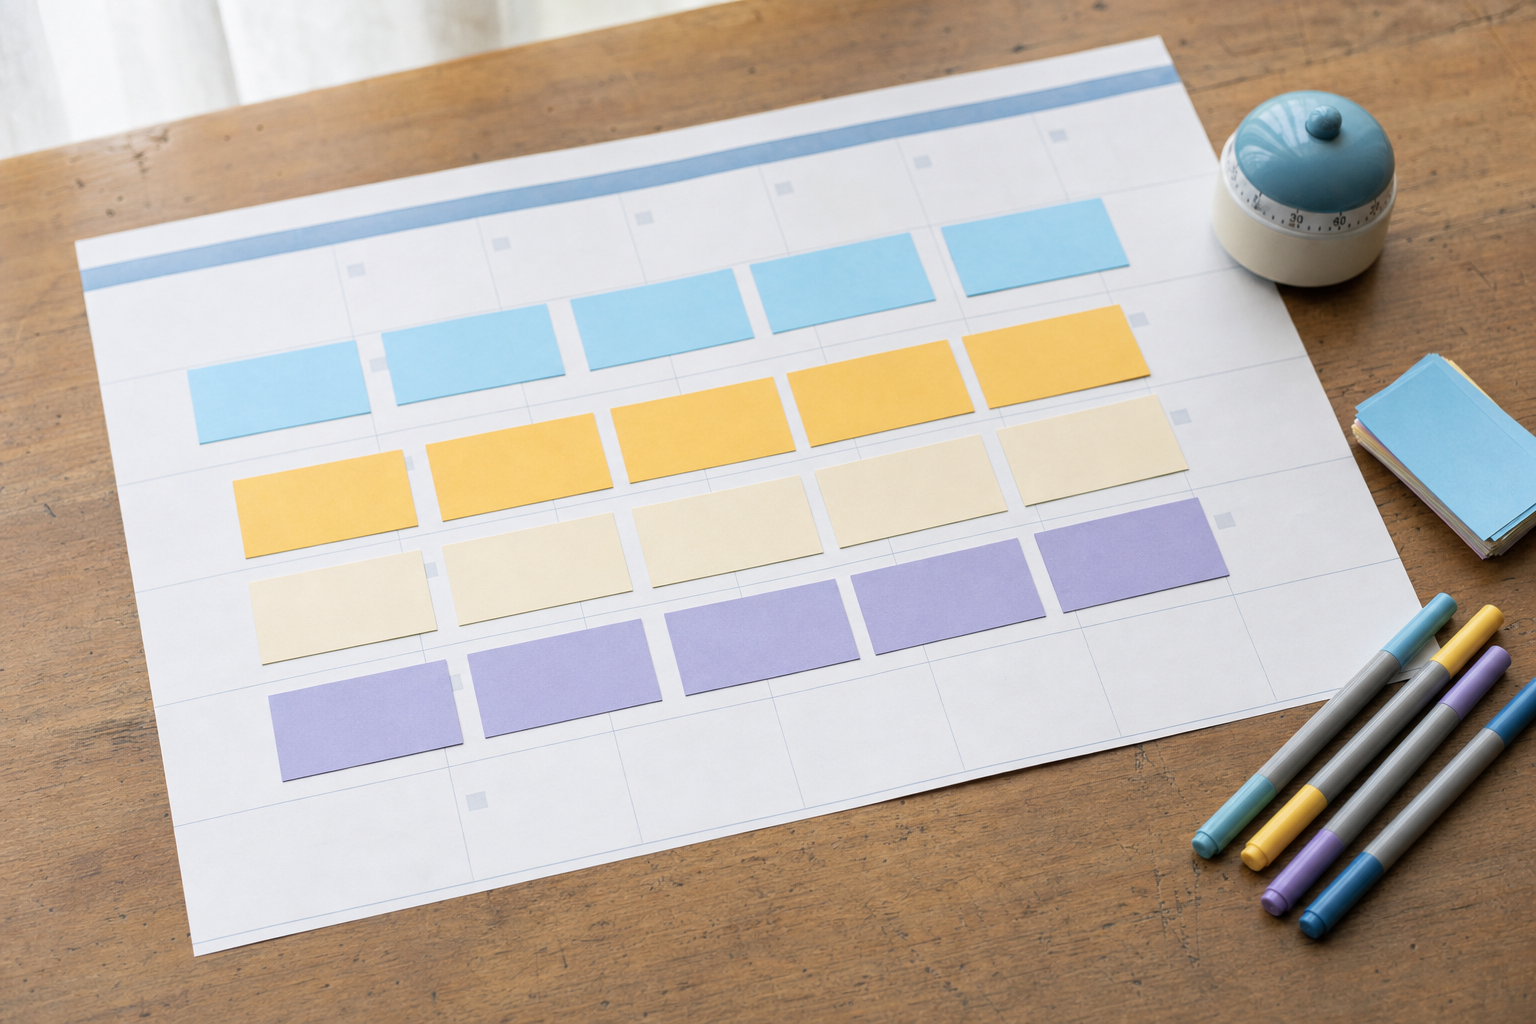

You can manage multiple social accounts solo without keeping separate spreadsheets, duplicating drafts, or wondering which caption is current. The outcome is a handoff-free system built around one master calendar: every post has a clear owner, destination, status, source file, and publishing record.
The goal is not to post everywhere at maximum volume. It is to make the next action obvious, reduce account-switching mistakes, and give every brand a consistent presence you can realistically maintain.
Key takeaways
- Use one master calendar as the source of truth for every brand and channel.
- Separate the core content idea from channel-specific versions.
- Give each post a fixed status, naming convention, and source-file location.
- Batch similar work so you are not constantly switching between brands and tasks.
- Use a pre-publish check to prevent wrong-account and wrong-version errors.
- Review performance by account, format, and goal before planning the next cycle.
1. Set a realistic publishing baseline for each account
Start by deciding what each account needs to achieve and how often you can support it. Avoid assigning the same posting cadence to every brand simply because it looks tidy on a calendar.
- Write down each brand account, its audience, its primary goal, and the channels it uses.
- Choose one or two priority formats per account, such as short video, image posts, or carousels.
- Set a minimum sustainable cadence for each channel. Treat extra posts as optional rather than part of the baseline.
- Mark any fixed campaigns, launches, events, or seasonal dates that cannot move.
- Estimate the weekly time required for creation, review, scheduling, and community follow-up. Reduce the cadence if the total exceeds your available time.
Use a simple account brief
Create a short reference card for each brand containing its audience, offer, content pillars, visual rules, voice notes, prohibited claims, preferred calls to action, and current links. Keep this brief beside your calendar so you do not have to reconstruct the brand every time you write.
2. Create one master calendar with filtered views
A master calendar prevents two common problems: conflicting versions across separate planning files and empty publishing gaps that remain hidden until the last minute. Every planned item should live in this calendar, even if you later filter it by brand or platform.
- Create a single calendar or database for all content.
- Add required fields for brand, account, platform, content pillar, format, goal, publish date, status, source file, caption version, and destination URL.
- Assign each brand a color so you can spot an unbalanced week quickly.
- Create filtered views for each brand, each platform, and items awaiting action.
- Keep ideas in a separate backlog view until they receive a target account and tentative date.
If you want creation, scheduling, publishing, and reporting in the same broader workflow, review VibeDay’s social content features. Publishing availability still depends on the platform, connected-account permissions, and any required approval steps.
3. Separate the content concept from its channel versions
One idea may become a Reel, TikTok, carousel, Facebook post, or YouTube Short, but those outputs should not be treated as one interchangeable file. Give the core idea a parent record, then attach each platform version to it.
- Give the core idea a unique ID, such as BRAND-TOPIC-MONTH-01.
- Record the central message, audience problem, proof point, and desired action in the parent record.
- Create a separate child item for every platform version you intend to publish.
- Adapt the opening, length, aspect ratio, caption, metadata, and call to action for the destination.
- Schedule each version independently so changing one platform does not silently alter another.
This structure allows you to reuse a strong concept without creating version-control chaos. It also makes it easy to see whether an idea has been fully adapted or merely copied.
4. Define statuses that describe the next action
Statuses should help you decide what to do next. Avoid vague labels such as “in progress,” which can mean writing, filming, editing, reviewing, or waiting for an asset.
- Use a compact sequence: Idea, Briefed, Drafting, Ready for Review, Approved, Scheduled, Published, and Repurpose.
- Define what must be true before an item can move into each status.
- Allow only one current status per platform version.
- Add a blocker field for missing products, links, footage, permissions, or decisions.
- Create an “Awaiting Me” view that shows every item requiring your action this week.
5. Standardize file names and source locations
Your calendar should point to one authoritative source file. Downloads scattered across devices and folders are where old captions and outdated edits tend to return.
- Choose one storage location for final assets and working files.
- Use a consistent folder structure, such as Brand / Year / Month / Campaign.
- Name files with the content ID, platform, format, and version number.
- Keep editable working files separate from approved exports.
- Replace ambiguous names such as final-final-2 with numbered versions and a clearly marked approved export.
- Paste the source-file link into the matching calendar record.
6. Batch by task, not only by brand
Switching repeatedly between strategy, writing, filming, editing, and scheduling adds friction. A solo workflow is usually easier when you complete similar tasks together while keeping brand boundaries visible.
- Plan the upcoming cycle for all accounts in one calendar session.
- Write briefs and captions in a dedicated block, using the account brief before switching brands.
- Capture several videos or product images in one production session when practical.
- Edit assets together, but export them directly into the correct brand folders.
- Reserve a separate scheduling block for final checks and account selection.
- Leave buffer space for timely posts, corrections, and platform issues.
You can use VibeDay to help create images, videos, and carousels, then organize scheduling across supported channels. If carousels are part of your mix, see how the AI carousel generator can fit into your production batch.
7. Run a pre-publish check for every post
The riskiest moment in a multi-account workflow is the final destination choice. Use the same short checklist whether a post is scheduled in advance or published manually.
- Confirm the brand and exact destination account.
- Open the approved asset from the calendar record rather than a recent-downloads folder.
- Check the caption, tags, mentions, link, thumbnail, and call to action.
- Preview the crop, safe areas, subtitles, and opening frame for the destination format.
- Confirm the date, time zone, and any campaign dependencies.
- Verify that the connected account has the required platform permissions and approvals.
- Record the final status and published URL after the post goes live.
8. Review results without blending the brands together
A combined dashboard is useful for workload visibility, but performance decisions should remain tied to each account’s audience and objective. A format that works for one brand may be irrelevant to another.
- Review each account separately before comparing patterns across accounts.
- Group results by content pillar, format, platform, goal, and campaign.
- Note which topics and openings deserve another version rather than judging only individual posts.
- Record a short keep, change, and stop decision for each account.
- Turn proven ideas into new parent records in the backlog instead of duplicating old files.
- Adjust the next planning cycle based on useful patterns, not a single unusually strong or weak post.
9. Run a weekly control session
A 20- to 30-minute control session keeps the system trustworthy. Its purpose is not to create content; it is to find gaps, conflicts, and blocked items before they become urgent.
- Check that every scheduled post has an approved asset and caption.
- Look for collisions, long account gaps, and unrealistic production days.
- Resolve or reschedule blocked items.
- Confirm that recently published posts have URLs and final statuses recorded.
- Archive abandoned versions so they cannot be scheduled accidentally.
- Choose the three highest-priority production actions for the coming week.
Frequently asked questions
Should I use a separate calendar for each social account?
Usually, no. Use one master calendar with filtered views for each brand and channel. Separate calendars make capacity conflicts and duplicate ideas harder to see.
How many accounts can one person realistically manage?
There is no universal number. It depends on posting frequency, formats, approval requirements, community management, and production complexity. Calculate the weekly hours needed for your baseline plan and reduce scope before quality or reliability slips.
Should I publish the same post on every platform?
You can reuse the same core idea, but create destination-specific versions when the format, audience expectations, caption style, or metadata differs. Track those versions under one parent concept.
How do I avoid posting to the wrong account?
Color-code brands, keep account names visible in every record, separate approved exports by brand, and use a mandatory pre-publish check. Never rely only on the profile image shown in a small account selector.
Can VibeDay publish automatically to every connected platform?
VibeDay supports scheduling and publishing workflows across Instagram, TikTok, Facebook, and YouTube, but actual publishing depends on platform capabilities, account permissions, connections, and required approvals. Confirm the destination and publishing state during your final check.
Bring content creation, scheduling, publishing, and performance review into a clearer multi-account workflow—without adding another handoff.
Start your VibeDay workflow →Put your content engine on autopilot
VibeDay turns one idea into scroll-stopping posts — image, video, and carousel — captioned for every platform.
Start your free 7-day trial →