If you're a solo founder or a one-person marketing team, the hardest part of short-form video isn't editing — it's the constant, grinding pressure to show up on camera every single day. This guide is for you if you'd rather block off a few hours once, film everything in one sitting, and then walk away with a full month of content ready to schedule. That's the batch model: film once, cut into many, drip it out across weeks. Done well, it turns video from a daily anxiety into a monthly ritual.
Key takeaways
- Batching means filming one focused session, then slicing and repurposing it into 15–30+ short clips for the month.
- A tight content plan before you hit record is what makes a batch session fast — never improvise on the day.
- One 'anchor' idea can spawn multiple clips: the full answer, the hot take, the mistake, the quick tip.
- Editing in a batch (same look, same captions, same hook style) is far faster than editing one video at a time.
- Scheduling ahead removes the daily 'what do I post?' decision — but keep 20% of your calendar open for timely reactions.
- VibeDay helps you turn raw clips into finished posts and line them up across Instagram, TikTok, Facebook, and YouTube.
Why batch instead of filming daily
Daily filming looks harmless until you add up the hidden costs: setting up lighting, changing clothes, finding the mental headspace to be 'on,' re-learning your editing steps every time. Each of those has a fixed cost you pay over and over. Batching lets you pay those costs once and amortize them across a whole month of output.
There's also a consistency benefit. When you film in one session, your energy, framing, and tone stay uniform, so your feed feels intentional instead of scattered. And because you're planning a month at once, you naturally build variety — you can see the whole arc instead of scrambling for one more idea at 9pm.
- Lower setup overhead: light, mic, and background get configured once.
- Better momentum: you warm up on camera and stay in the flow for hours.
- Easier consistency: uniform look and voice across every clip.
- Room to plan variety: you spot gaps and repeats before you publish.
- Less decision fatigue: the daily 'what do I post' question disappears.
Step 1: Plan the month before you touch the camera
The single biggest mistake people make is winging the filming day. A batch session should feel like reading a script, not brainstorming. Spend an hour mapping out your topics first, grouped into a few content buckets so your month feels balanced rather than random.
A simple structure: pick 3–4 recurring themes (for example, tips, behind-the-scenes, myths, and answers to common customer questions). Assign each theme a rough share of your calendar, then list specific video ideas under each. Aim for roughly 15–20 planned clips if you post 4–5 times a week — you'll get more from repurposing later.
- Define 3–4 content buckets that reflect what your audience actually asks about.
- Write one specific idea per line — 'how to price your first offer,' not 'pricing.'
- Draft the hook (first line) for each idea; this is what stops the scroll.
- Order them so filming flows by outfit, location, or topic to save setup time.
- Mark which ideas can spin off into multiple clips.
Before you commit a hook to the filming list, pressure-test it. A weak opening line wastes a great clip. Run your draft openers through the free Scroll-Stopper Score and rework anything that lands flat — it's much cheaper to fix a hook on paper than to reshoot.
Step 2: Set up once, film everything
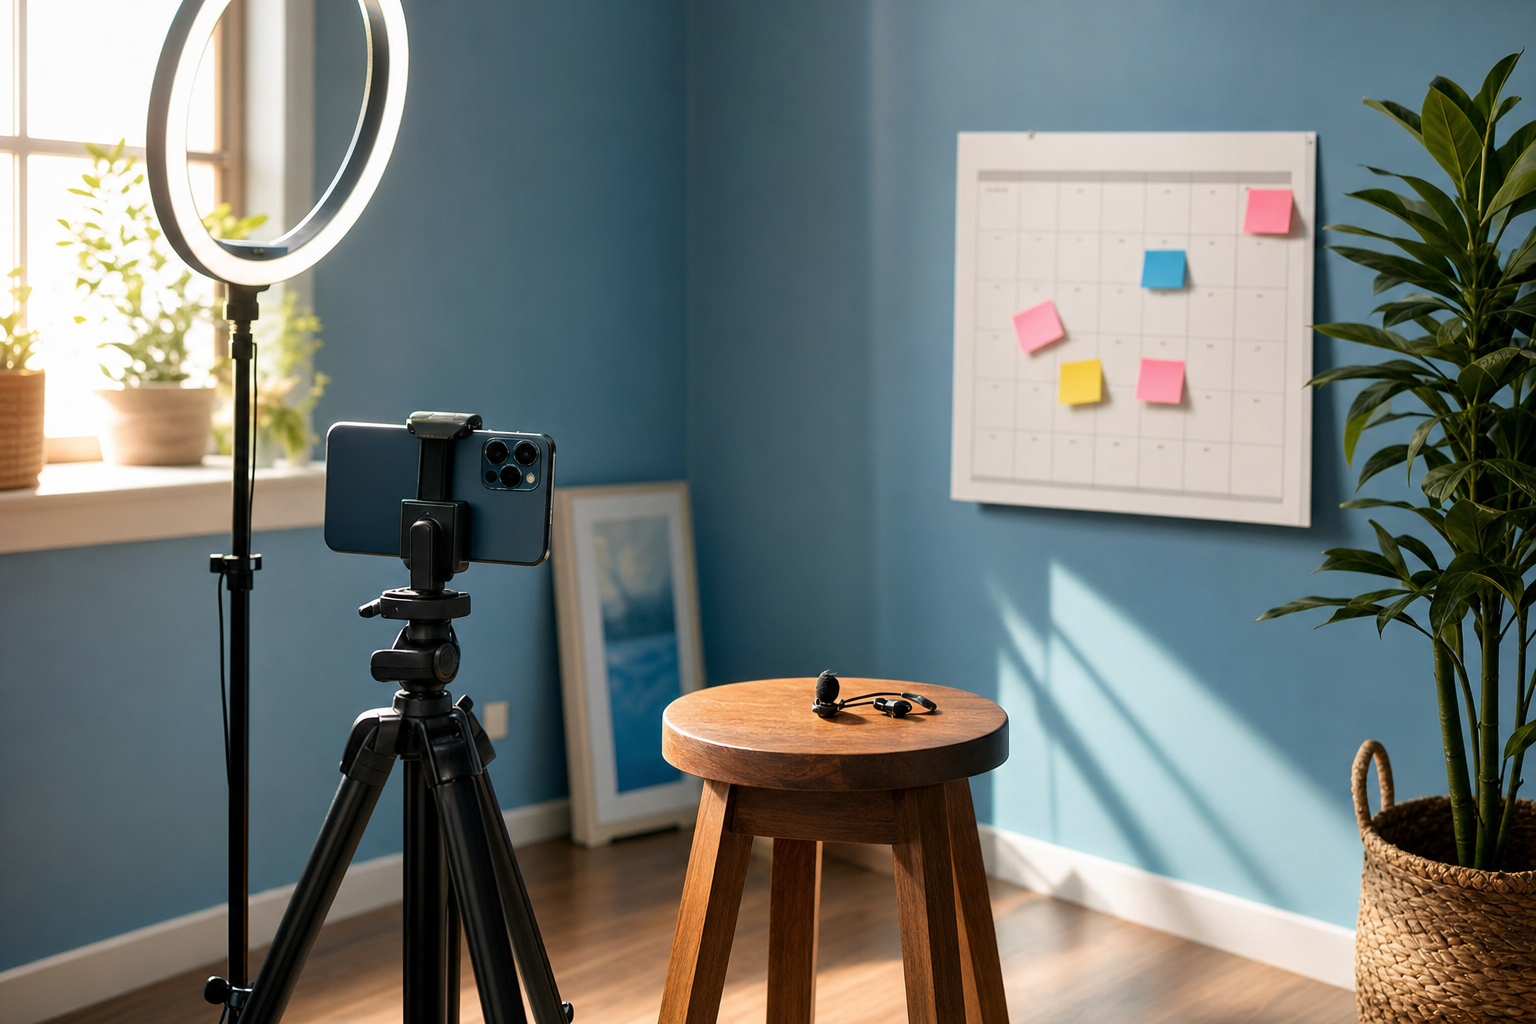
Treat the physical setup as a one-time investment. Get your framing, lighting, and audio right at the start, then leave it untouched for the whole session. Consistency here is what makes your clips look like they belong to the same brand.
Film in themed blocks rather than jumping around. Shoot all your 'tips' clips together while you're in that headspace, then switch to Q&A, then behind-the-scenes. If you change outfits between blocks, viewers won't notice you filmed everything on the same afternoon — small wardrobe changes create the illusion of different days.
- Lock your lighting and camera position before the first take.
- Do a 10-second audio test and actually watch it back.
- Film in topic blocks to stay in one mental mode at a time.
- Record each clip with a couple seconds of silence at the start and end for easy trimming.
- Swap one visible layer (jacket, shirt) between blocks to vary the look.
- Keep a running list on your phone; check off each clip as you nail it.
Step 3: Turn one recording into many clips
This is where batching multiplies. A single well-answered question can become several posts: the complete answer, a punchy 20-second version, the one mistake to avoid, and a quick tip pulled from the middle. You're not creating more work — you're getting more surface area from work you already did.
Think in angles. Take one anchor topic and ask: what's the fastest version of this? What's the contrarian take? What's the common mistake? What's the before-and-after? Each angle is a legitimate standalone clip, and together they reinforce the same core message across the month without feeling repetitive.
- The full explainer: your complete, useful answer.
- The 20-second cut: the sharpest 20 seconds of that answer.
- The hot take: the opinion or myth-bust hidden inside it.
- The mistake: what people get wrong about this topic.
- The quick tip: one actionable line pulled out and expanded.
- The carousel spin-off: the same idea reformatted as a static carousel for platforms where that performs.
Step 4: Edit in a batch, not one-by-one
Editing individually forces you to re-decide your style every time — font, caption placement, color, pacing. Batch editing means you decide once and apply it everywhere. Build a simple template for your captions and outro, then run every clip through the same steps assembly-line style.
Captions matter here more than people expect: many viewers watch muted, so burned-in captions with a consistent style both boost retention and reinforce your brand look. If your AI-generated captions or clip copy keep coming out generic, teach the tool your phrasing first with Make AI Sound Like You so the words actually read like you wrote them.
- Create a caption and outro template before you edit the first clip.
- Trim all clips first, then add captions to all, then export all — batch by task.
- Keep hooks in the first second; front-load the payoff.
- Reuse the same aspect ratio and safe-zone framing for every platform.
- Name and organize exports by post date so scheduling is painless.
Step 5: Schedule the month and leave breathing room
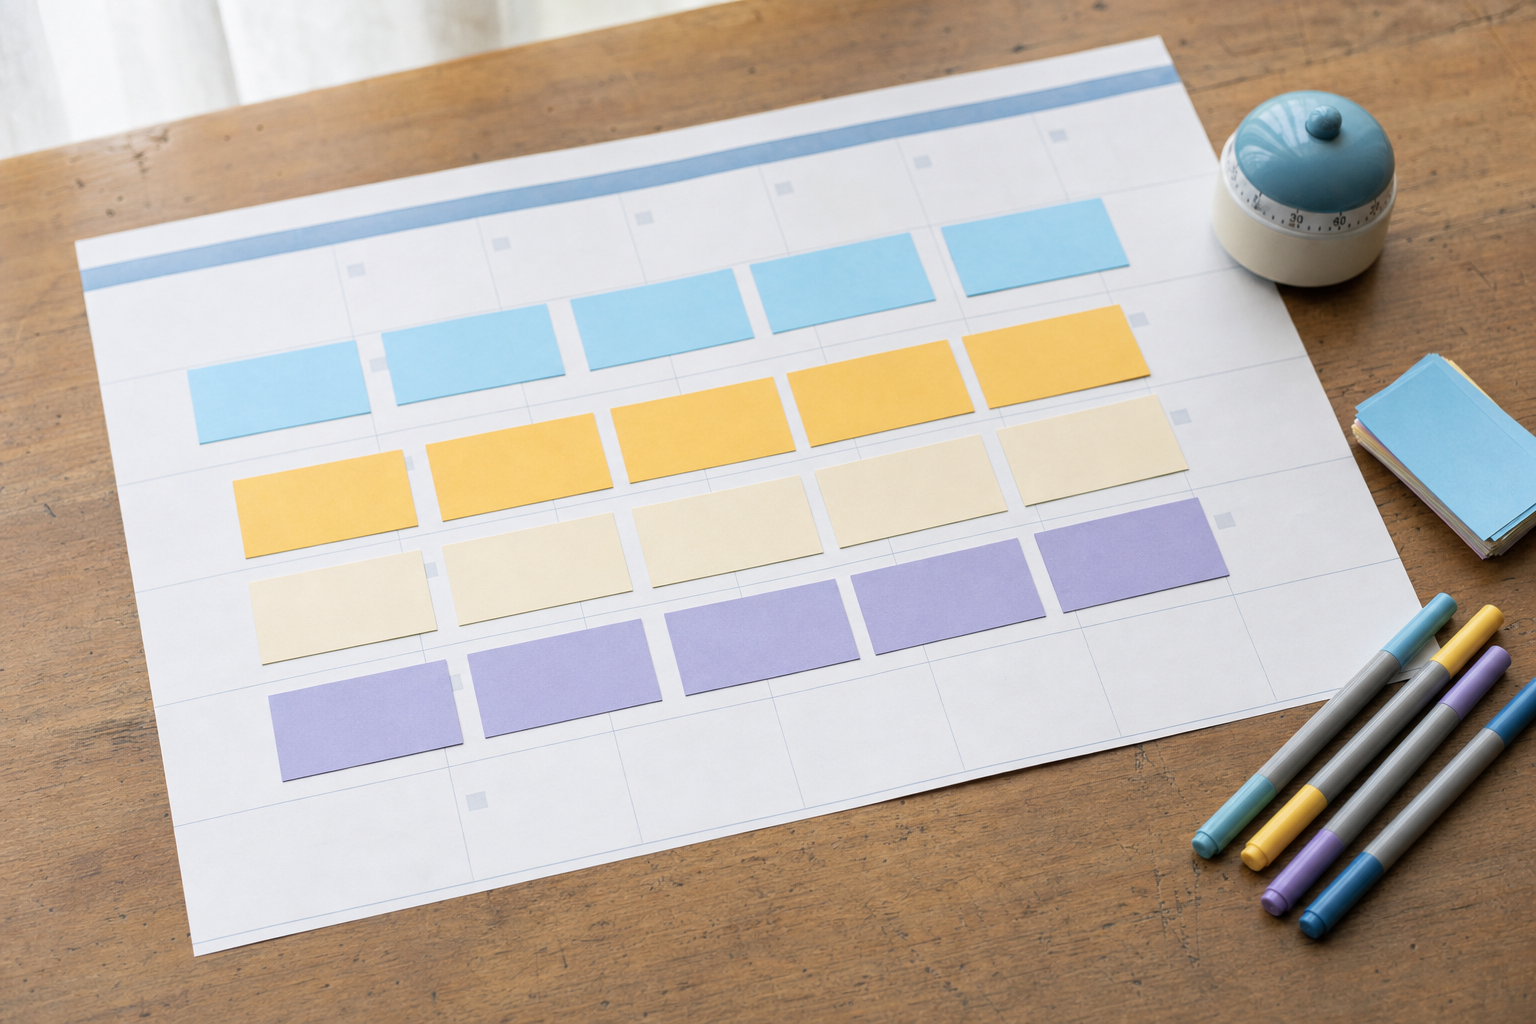
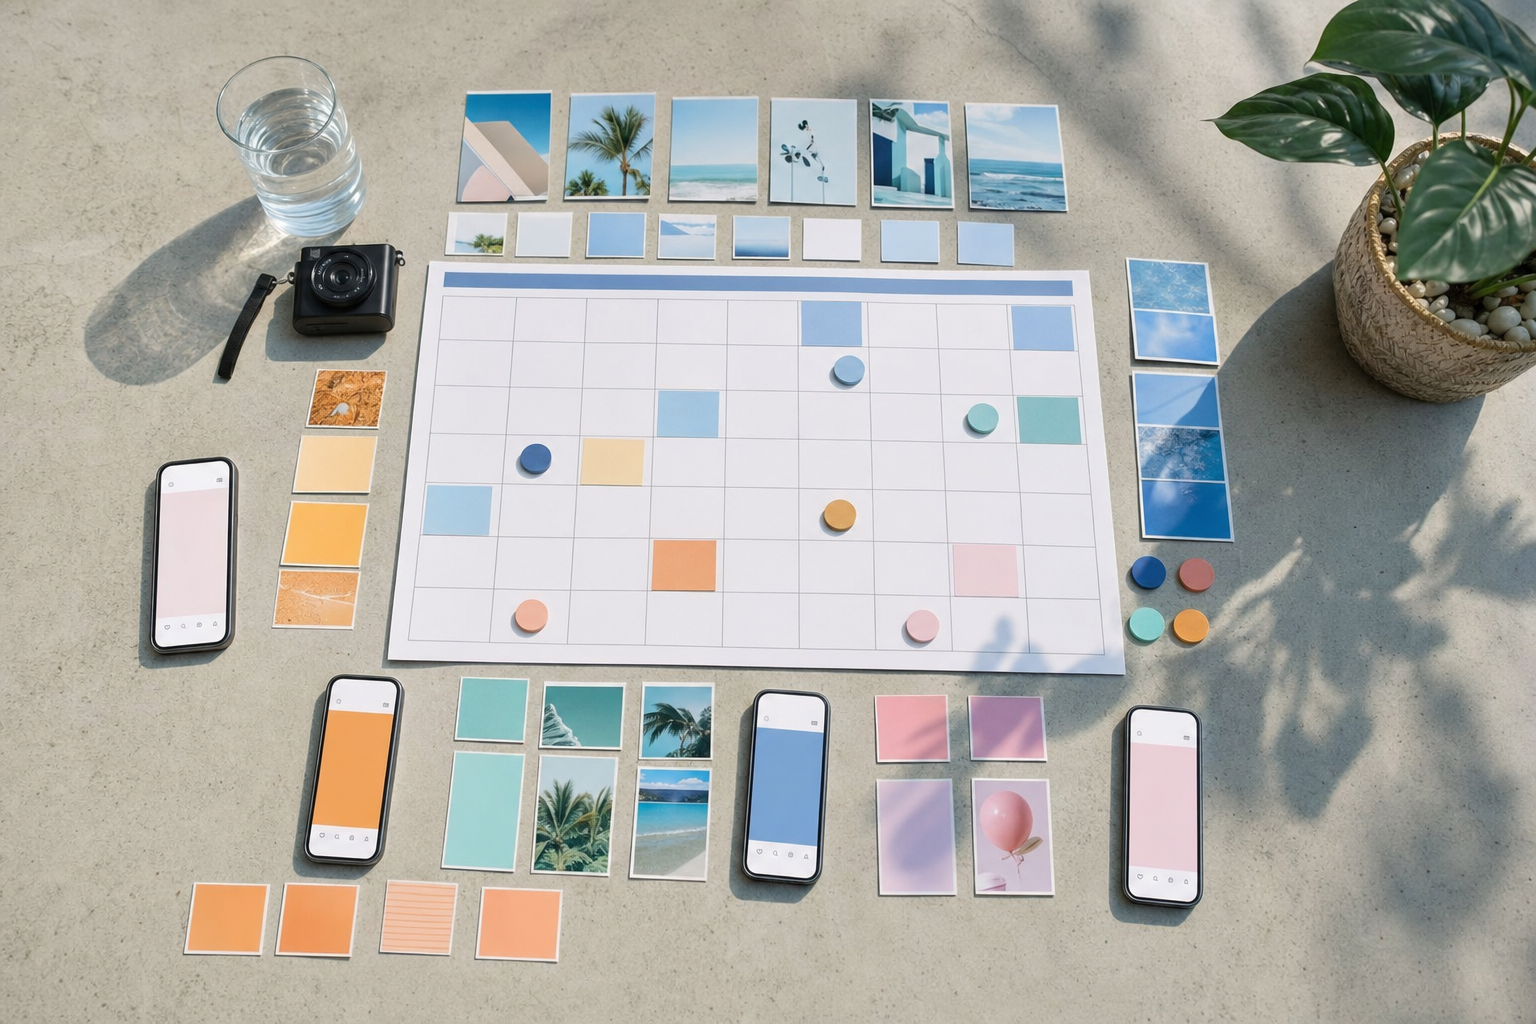
Once you have your clips edited, lay them out across the calendar. Alternate your content buckets so you never post two tips in a row, and space out the multiple angles from a single anchor topic — you don't want the full explainer and its 20-second cut landing the same week. This is where a scheduling tool earns its keep.
In VibeDay you can queue clips across Instagram, TikTok, Facebook, and YouTube from one place, so you're not re-uploading the same file four times. Publishing to each platform is approval-gated, which is a good thing — you approve each post before it goes out, so a scheduling mistake never becomes a live mistake. Leave roughly 20% of your calendar open for timely, reactive posts you'll want to add during the month.
- Alternate content buckets day to day for a varied feed.
- Space out clips that came from the same anchor topic.
- Post at times that fit your audience, not just default slots.
- Keep ~20% of slots open for reactive or trending content.
- Review each scheduled post before approving it to publish.
- Check the reporting after a week to see which angles land, then film more of those next batch.
If you're currently juggling a separate editor, a separate scheduler, and a spreadsheet, doing all of this in one place is the whole point. See how the pieces fit together on the features overview, or if you're comparing tools, the Buffer alternative breakdown covers the scheduling side directly.
A realistic monthly cadence
You don't need to film 30 unique videos. Plan around a manageable posting frequency, film enough anchor topics to hit it once repurposing is factored in, and repeat the whole cycle once a month. The workflow gets faster every time because your templates, framing, and hook formulas are already dialed in.
- Posting 4–5x/week: plan ~15–20 anchor clips, expand to a full month via repurposing.
- Set a fixed monthly filming date so it becomes routine, not a scramble.
- Keep a running 'ideas' note between sessions so planning is quick.
- After each batch, note what took longest and streamline it next time.
How many videos can I realistically get from one filming session?
It depends on your topics and pace, but a focused two-to-three hour session can produce enough anchor footage to support a month of posting once you repurpose. A single strong answer can become the full explainer, a short cut, a hot take, and a quick tip — so you don't need one recording per post.
Won't a month of batched content feel stale or outdated?
Keep roughly 20% of your calendar open for timely, reactive posts, and lean your evergreen buckets (tips, common questions, myths) on content that stays relevant. Batching handles your baseline; the open slots handle the moment.
Do I have to film everything in one outfit and location?
No — and you shouldn't. Filming in themed blocks and swapping one visible layer between blocks makes clips look like they were shot on different days, which keeps a batched month from feeling monotonous.
Can VibeDay publish all these clips automatically?
VibeDay lets you create finished posts and schedule them across Instagram, TikTok, Facebook, and YouTube from one place, but publishing is approval-gated — you review and approve each post before it goes live, so nothing goes out by accident.
What's the fastest part to speed up next time?
Editing. Build reusable caption and outro templates and edit assembly-line style (trim all, caption all, export all). After a couple of batches, your setup and templates make each cycle noticeably faster.
Ready to turn one filming session into a full month of scheduled posts? Create your clips, line them up across every platform, and approve them on your own terms with VibeDay.
Start batching with VibeDay →Put your content engine on autopilot
VibeDay turns one idea into scroll-stopping posts — image, video, and carousel — captioned for every platform.
Start your free 7-day trial →