If you regularly finish filming with dozens of clips but still cannot see how they fit together, the problem probably started before you pressed record. You had a topic, but not a sequence.
A short-form video storyboard fixes that without turning pre-production into a major project. It gives every clip a job, helps you spot missing shots early, and keeps you from rambling through five versions of the same point.
Key takeaways
- Storyboard the sequence, not every second of the video.
- Give each frame one clear job: hook, context, proof, step, transition, or payoff.
- Write down the visual, spoken line, on-screen text, and approximate duration for each beat.
- Use the storyboard as both a filming checklist and a rough editing plan.
What is a storyboard for a short-form video?
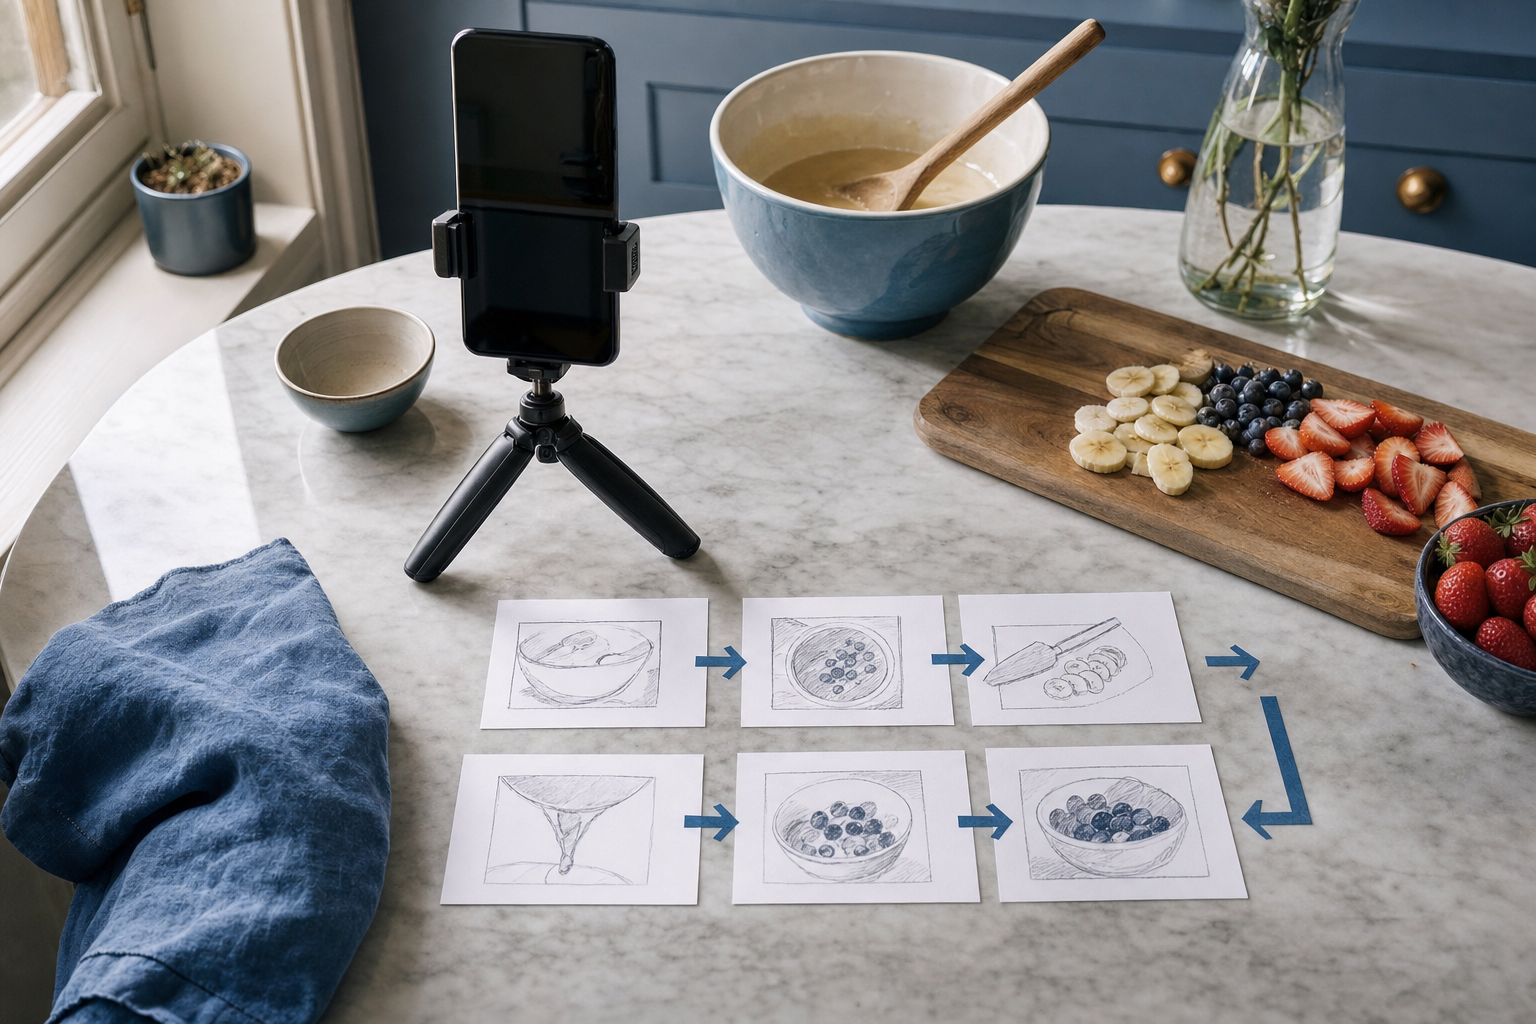
A storyboard is a visual plan showing what the viewer will see and hear in each part of a video. For short-form content, it can be as simple as six boxes drawn on paper, with a rough sketch and one sentence under each box.
It is not a polished illustration. It is a decision-making tool. Before filming, you decide which shots carry the story, where the message changes, and how the video will end.
Each storyboard frame should represent a meaningful beat rather than every camera cut. A beat could be the opening problem, a product demonstration, a change of location, a key instruction, or the final result.
Why should you storyboard a video that is only 30 seconds long?
Short videos leave little room for repetition or setup that goes nowhere. When you improvise everything, you often collect plenty of footage without capturing the exact close-up, reaction, transition, or final shot needed to make the edit work.
A lightweight storyboard helps you:
- Separate essential shots from optional ideas.
- Keep the spoken message moving in one direction.
- Plan visual changes before the video feels static.
- Identify props, locations, products, and screen recordings you need.
- Film related shots together instead of constantly resetting.
- Notice whether the ending delivers what the opening promised.
- Edit from a planned sequence rather than searching through random clips.
The goal is not to remove spontaneity. It is to create a clear backbone so spontaneous moments have somewhere useful to go.
How detailed should a short-form video storyboard be?
Make it detailed enough that you know what to film, but simple enough that you will actually use it. For most social videos, every frame needs only four pieces of information:
- Visual: What is physically on screen?
- Audio: What is being said or heard?
- Text: What words, captions, or labels need to appear?
- Timing: Roughly how long does this beat last?
You can also note the framing when it matters, such as wide shot, close-up, overhead view, screen recording, or talking-to-camera shot. Skip technical camera directions unless they affect the story.
How do you storyboard a short-form video step by step?
Start with the message, not the camera. The following process works for tutorials, product demonstrations, founder stories, before-and-after videos, and educational clips.
1. Write the one-sentence outcome
Complete this sentence: “After watching, the viewer will understand, feel, or do ______.” If you need several sentences to describe the outcome, the idea may be too broad for one short video.
2. Choose the final moment
Decide what the viewer should see or hear at the end. It might be a finished dish, a transformed workspace, a product result, a concise takeaway, or a next step. Planning backward from the payoff helps you avoid an ending that simply fades out.
3. Break the idea into beats
Turn the message into a small sequence. A reliable starting structure is:
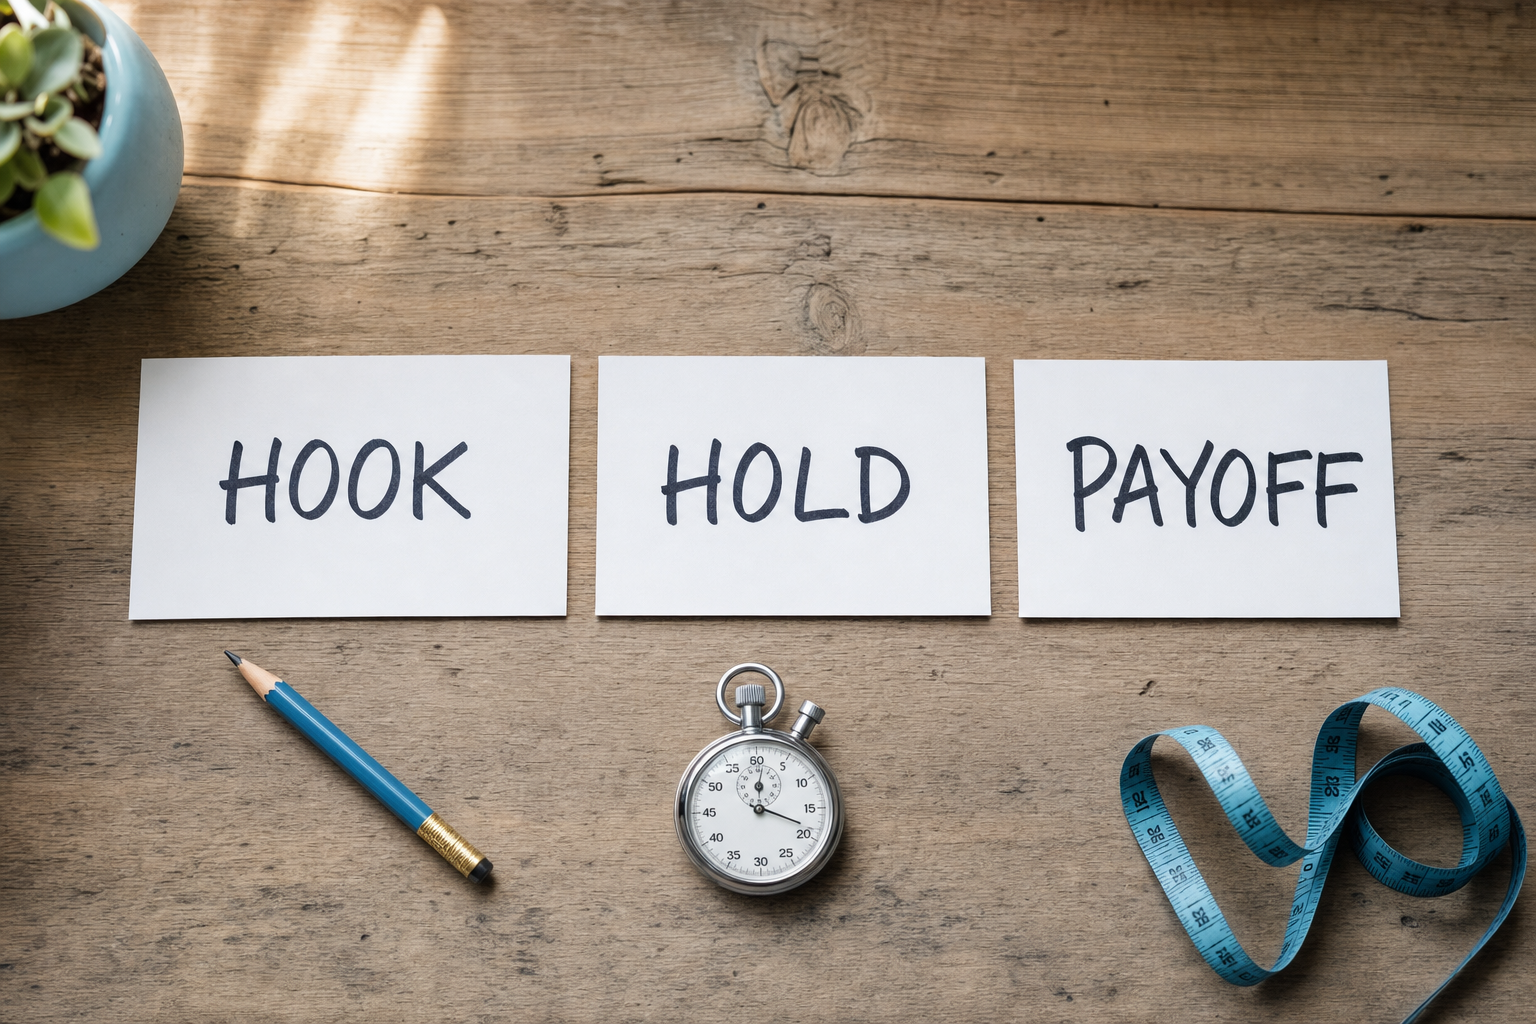
- Hook: Give the viewer a reason to stay.
- Context: Clarify the problem or goal.
- Development: Show the steps, evidence, or demonstration.
- Payoff: Deliver the result or main lesson.
- Next step: Tell the viewer what to do, if a call to action is needed.
Not every video needs all five beats as separate scenes. A product reveal might combine the hook and payoff. A quick tutorial might move directly from the hook into three steps.
4. Assign a visual to every beat
Ask what the viewer needs to see for each point to make sense. Avoid relying on a talking head for the entire video if the subject can be demonstrated. Show the screen, product, process, mistake, comparison, or result when those visuals provide useful evidence.
5. Add the spoken line and on-screen text
Write the main line for each frame. Keep it to one idea. Then add only the on-screen text that helps someone follow the video quickly or understand it without relying entirely on audio.
6. Estimate the timing
Assign rough durations rather than timing every word. If one frame takes up most of the planned runtime, check whether it is doing too much. You may need to split it, shorten the explanation, or turn the topic into a series.
7. Turn the frames into a filming checklist
Beside each frame, list the actual footage required. Include alternate angles only when they give you a clear editing option. Mark each shot as you capture it so you do not discover a missing close-up after the setup has been packed away.
What should you put in each storyboard frame?
A useful frame can follow this compact template:
- Beat: The purpose of this moment.
- Sketch: A rough view of what appears on screen.
- Shot: Wide, medium, close-up, overhead, point of view, or screen recording.
- Action: What changes or moves during the shot.
- Audio: Voiceover, direct speech, natural sound, or music cue.
- On-screen text: The essential words the viewer should read.
- Duration: A rough number of seconds.
- Production note: Props, location, lighting, or transition requirements.
Do not add fields just because they look professional. Your storyboard should reduce uncertainty, not create more paperwork.
How many storyboard frames does a short video need?
There is no required number. Use one frame for every meaningful story beat or major visual change. A simple explanation may need four frames. A fast demonstration may need eight or more.
A useful test is to read the frames in order without imagining extra footage. If the idea still makes sense, you probably have enough. If the sequence jumps from setup to result without showing a necessary action, add the missing beat.
More frames do not automatically make a better video. Too many can encourage unnecessary cuts and make filming harder. Start with the minimum sequence needed to deliver the promised result.
How do you plan the hook without making it feel disconnected?
Storyboard the hook and payoff together. The opening should create a question, promise a useful result, identify a relevant problem, or begin an interesting action. The rest of the video then needs to answer or complete it.
For example, if the first frame says, “This packaging mistake made every order slower,” the following frames should show the mistake, explain why it caused delays, and demonstrate the change. Switching to general packaging advice would break the promise.
Write two or three possible opening lines, place each above the same sequence, and check which one most accurately sets up the payoff. You can test whether the wording is specific and easy to understand with VibeDay’s free Scroll-Stopper Score. A strong score is not a substitute for a relevant idea, so choose the hook that best matches what the video actually delivers.
What is the difference between a storyboard and a shot list?
| Storyboard | Shot list |
|---|---|
| Shows the video in viewing order | Shows the footage you need to capture |
| Focuses on story beats and meaning | Focuses on production tasks |
| Includes visuals, audio, text, and timing | Usually includes framing, action, location, and setup |
| Helps you judge whether the idea flows | Helps you film efficiently and avoid missed shots |
For a short video, the two can live in the same document. Build the storyboard first so the sequence makes sense, then extract the individual shots you need to film.
Can you storyboard if you cannot draw?
Yes. Drawing ability is irrelevant. You can use stick figures, reference photos, screenshots, product images, colored blocks, or written descriptions such as “close-up of label peeling away.”
A text-only storyboard also works. Make a table with one row per beat and columns for visual, audio, text, and timing. The important part is making the decisions before filming, not how attractive the planning document looks.
What does a simple short-form video storyboard look like?
Imagine a small brand making a video about packing fragile customer orders. The storyboard could look like this:
- Frame 1 — Hook: Close-up of a loose item moving inside a box. Spoken line: “If you can hear this, the order is not ready to ship.”
- Frame 2 — Problem: Overhead shot of the empty space around the product. On-screen label identifies the gap.
- Frame 3 — Step one: Add protective material around the sides. Close-up of the corners.
- Frame 4 — Step two: Fill the top space and close the box. Natural packing sounds under a short voiceover.
- Frame 5 — Check: Gently move the sealed box to demonstrate that the item stays in place.
- Frame 6 — Payoff: Finished package beside the packing materials. Recap the practical check in one line.
This plan tells the creator which angles, props, actions, and lines are needed. It also exposes a potential safety issue before filming: the demonstration should be gentle and appropriate for the product rather than treating a shake test as suitable for every fragile item.
How does a storyboard save time during filming and editing?
During filming, group shots by setup rather than recording strictly in storyboard order. Capture all overhead shots together, then all close-ups, then any direct-to-camera lines. The storyboard preserves the final sequence while the shot list lets you work efficiently.
During editing, arrange the planned beats first. This creates a rough cut with a beginning, middle, and end. Then tighten pauses, replace weaker takes, add captions, and use extra footage only where it improves clarity or pacing.
Do not force every planned frame into the finished video. Storyboards are working plans, not contracts. If a clip repeats information or slows the sequence, remove it.
For solo founders and small teams, VibeDay can help turn planned ideas into social assets and organize scheduling across channels. Publishing remains subject to the relevant platform connections, permissions, and approval requirements, so the storyboard is still the place to make the core creative decisions.
What mistakes should you avoid when storyboarding short-form video?
- Starting with camera angles before deciding what the video should accomplish.
- Writing a hook that promises something the ending never delivers.
- Giving every frame several messages instead of one clear job.
- Using on-screen text to repeat every spoken word rather than highlight key information.
- Planning transitions before the underlying sequence makes sense.
- Storyboarding more footage than you can realistically film.
- Forgetting insert shots such as hands, controls, ingredients, packaging details, or screen actions.
- Leaving the final frame vague and hoping a call to action will fix it.
- Refusing to change the plan when a clearer idea appears during filming or editing.
What else should you know about storyboarding short-form video?
Should I write the script or create the storyboard first?
Start with a one-sentence outcome and a rough sequence of beats. Then develop the script and storyboard together. The words may reveal that you need another visual, while the visuals may show that part of the script is unnecessary.
Can I storyboard an unscripted video?
Yes. Plan the prompts, topics, and visual beats instead of exact lines. For an interview-style clip, storyboard the opening question, the strongest answer you want to find, supporting footage, and the closing takeaway.
Should vertical videos be storyboarded vertically?
Ideally, yes. A vertical frame reminds you how little horizontal space is available and helps you plan room for captions, interface elements, and the main subject. Keep important visual information away from the extreme edges and areas commonly covered by platform controls.
Do talking-head videos need a storyboard?
They benefit from a simple one. Map the hook, each key point, any supporting examples, visual cutaways, and the ending. This prevents one long take from becoming a collection of repeated thoughts.
How do I storyboard a product demonstration?
Plan the initial problem, the product entering the scene, the specific action being demonstrated, a close-up that proves the result, and the final outcome. Show what the product does rather than relying only on claims.
How do I storyboard a screen-recording tutorial?
List every tap, menu, or screen change the viewer must follow. Record a clean path without unrelated notifications or detours. Add zooms or callouts only where the interface would otherwise be difficult to understand.
Should every video include B-roll?
No. Use B-roll when it clarifies a step, provides evidence, hides an edit, or improves the viewer’s understanding. Decorative footage that does none of those things can make the video busier without making it better.
How far ahead should I storyboard?
Storyboard once the idea and intended audience are clear, but before gathering props or setting up the camera. For recurring formats, create a reusable structure and adapt the individual frames for each topic.
Can I reuse the same storyboard for different platforms?
You can reuse the core sequence, but check the required aspect ratio, runtime, safe areas, caption placement, and audience context for each platform. A strong story can travel, but the packaging may need adjustment.
What should I do if the video is too long after storyboarding?
Remove repeated context first. Then shorten examples, combine beats that make the same point, or split the topic into separate videos. Do not speed up every clip simply to force a broad idea into a short runtime.
Is a storyboard useful for batch filming?
Yes. After planning each video, combine the shot lists by location, product, outfit, camera position, or lighting setup. You can film efficiently while keeping each video’s final sequence separate.
What is the fastest way to review a storyboard?
Read only the purpose of each frame in order. Then review only the visuals, followed by only the spoken lines. Each pass should tell a coherent version of the same story. If one pass has a gap, revise before filming.
Plan the sequence before you press record, then use VibeDay to help create and organize the social content that comes next.
Start creating with VibeDay →Put your content engine on autopilot
VibeDay turns one idea into scroll-stopping posts — image, video, and carousel — captioned for every platform.
Start your free 7-day trial →